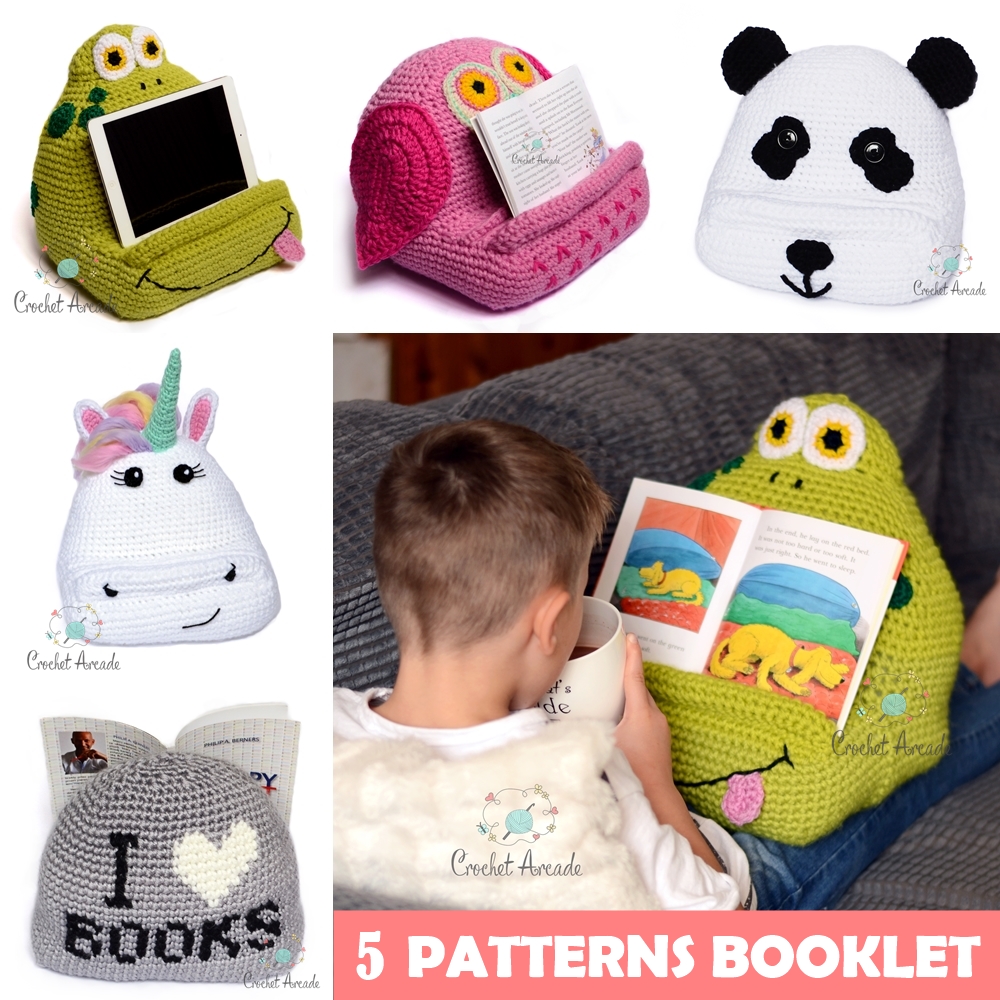
Due to popularity of my Crochet Book/Tablet Holder Patterns (Series includes an Owl, Frog, Unicorn and other designs for adults and teenagers) I’ve decided to create a FREE mini version of this crochet pattern for mobile/cell phones.

I will gradually be adding different variations of this pattern by making the holder into a different creatures. I already published a Unicorn Mobile Cell Phone Holder FREE Crochet Pattern which I’m really happy with how it turned out so please do check it out. The next one coming will be a monster and I also plan to do Animal series.
I have thought a lot about in what direction I should go with Crochet Arcade in 2018 and I’ve decided that my mission will be to provide good quality and easy to understand patterns as well as to teach how to crochet and how to read crochet patterns to as many people as possible.
How am I going to do it? I will do the series of blog posts and videos where I will explain exactly how to read the pattern from start to finish, line by line, whilst actually making an item with you. So head over to subscribe to my youtube channel here so you don’t miss any of my new videos. Also feel free to subscribe to my newsletter to get updates on new pattern releases, videos, promotions, freebies, giveaways, new tutorials and more!
My Free Crochet Mobile Phone Holder pattern will be the first one in this series. If you haven’t quite mastered how to read crochet patterns yet or you struggle with understanding anything in the written pattern below, head over to my YouTube channel now to watch my How to Read Written Crochet Patterns Video Tutorial- Crochet Mobile Phone Holder Pattern in which I present exactly how to make my Crochet Phone Holder from start to finish.
If you are familiar with reading crochet patterns then just simply use written pattern below or alternatively buy advert free, printable version of this mobile phone holder pattern from my shop for $1.
FREE CROCHET MOBILE PHONE HOLDER PATTERN
PATTERN INFORMATION:
MATERIALS:
Crochet Hook: Size 8 mm/L
Affiliate:


Yarn: Lion Brand Hometown USA (Note this yarn calls for 10 mm hook, I’ve used 8 mm hook so the holes between the stitches are minimal. If your store doesn’t stock this yarn you should be able to substitute it with any other yarn that calls for 10 mm hook. Just check your gauge/tension.) Yarn Weight: double chunky/ double bulky yarn /Size 6/14 PLY.
Colour A: Yellow 86g (3oz) ~ 45-55m (49-60 yd)
Other: Hollowfibre filling (around 20g).
Tools Needed: Yarn Needle, Scissors, Stitch Marker, Row Counter.
ABBREVIATIONS (US TERMS):
YO– Yarn Over (hook)
St – Stitch
Sts – Stitches
Sl st – Slip Stitch
Ch – Chain
Sc– Single Crochet
BPsc– Back Post Single Crochet
FPsc – Front Post Single Crochet
sc2tog – Single crochet Two Together (single crochet decrease)
SPECIAL STITCHES INSTRUCTION:
sc2tog – insert hook in next st, yo and pull up a loop, insert hook in the following st, yo and pull up a loop again, yo and pull through all 3 loops on your hook.
FPsc – insert hook to the right side of the next sc’s post from the front. Now insert the hook from the back to the front on the other (left) side of the same post, yo and pull through the back of the post, yo and pull through 2 loops on your hook.
BPsc – insert hook to the right side of the next sc’s post from the back. Now insert the hook from the front to the back on the other (left) side of the same post, yo and pull through the front of the post, yo and pull through 2 loops on your hook.
GAUGE:
9 stitches and 10 rows to 10 cm x 10 cm (4 x 4 in) over single crochet using 8mm hook.
SIZE:
Holder body: 14 cm (5.5 in) wide x 12 cm (4.5 in) deep x 13 cm (5 in) high.
My Crochet Mobile Phone Holder (or Crochet Cell Phone Holder) is suitable for a majority of phones and it allows for the phone to be in 2 tilting position as well as upwards and sideways.

MOBILE PHONE HOLDER BODY INSTRUCTION:
Pattern notes:
- Body is worked as one piece from the bottom up in a round.
- Because single crochets are worked in a round, they will naturally lean one way. It’s necessary to straighten up the stitches so the holder will have the right shape.
- Attach a stitch marker on the front of the last stitch. Move this marker up on the last stitch of each round.
- Work first stitch of the new round directly on top of the first stitch from previous round without joining to it first with sl st.
With Colour A make 6 ch.
1) 2 sc in second ch from hook, sc in next 3 ch, 4 sc in last chain, continue making sts on the other side of the chain in the remaining loops: sc in next 3 ch, 2 sc in last ch. (14 sc)
Move the stitch marker to the last stitch in this round and continue moving it on the last stitch of all the following rounds.
2) 2 sc in next 2 sts, sc in next 3 sts, 2 sc in next 4 sts, sc in next 3 sts, 2 sc in last 2 sts (22 sts)
3) Sc in first st, 2 sc in next 2 sts, sc in next 5 sts, 2 sc in next 2 sts, sc in next 2 sts, 2 sc in next 2 sts, sc in next 5 sts, 2 sc in next 2 sts, sc in last st. (30 sc)
4) Sc in next 2 sts, 2 sc in next 2 sts, sc in next 7 sts, 2 sc in next 2 sts, sc in next 4 sts, 2 sc in next 2 sts, sc in next 7 sts, 2 sc in next 2 sts, sc in next 2 sts. (38 sc)
5) Sc in each st. (38 sc)
6)-7) Repeat row 5.
Pattern notes:
Now take a hook off your loop and enlarge it, or put a stitch marker on it so it doesn’t unravel. Don’t cut the yarn off. Leave it as it is, we will come back to it later in the round 12.
We will now move to the front side of the rectangle and start making the flat bit of the holder, the one where the book/tablet sits on. The rows of sc will be worked back and forth unlike the rest of the holder. On the end of each row we will sl st to the first sc that sits on the side of the row just finished, let’s call it ‘side wall’ of the rectangle. We won’t be making 1 ch to start each row, instead we will sl st to the following sc on the ‘side wall’ of stitches (the one above the sc, that we slip stitched, to finish last row). The purpose of slip stitching to the side, is so we won’t need to stitch the flat bit to the sides of the square but just continue the piece. In other words each row of sc will have sl st at the beginning and at the end of it.
8) Skip next 3 stitches from when you just finished and slip stitch new ball of yarn to 4th st, make bpsc (without starting 1 chain) in the next 11 sts, sl st to top of next available sc from side of the rectangle and then sl st to the sc above it and turn. (11 bpsc)
9) Skip 2 slip stitches made on the end of previous round and make 11 sc on top of 11 sc from previous round, sl st to top of next available sc from side of the rectangle and then sl st to the sc above it and turn. (11 sc)
10) Repeat round 9. (11 sc)
Pattern notes:
(Optional) In the next round work stitches around the front posts of single crochets. This will cause top loops of the single crochets to be on the outside which will enable you to crochet the row of single crochets on top of those stitches later on. The row of single crochets will create a ridge which will stop mobile/cell phone from sliding if you want it in more upright position. Alternatively just make single crochets in a normal way as those ridges aren’t crucial for the functionality of the holder.
11) Skip 2 slip stitches made on the end of previous round and make 11 FPsc on top of 11 sc from previous round, sl st to top of next available sc from side of the rectangle and fasten off. (11 FPsc)
Pattern notes:
Put your crochet hook back in the loop where you finished round 7. We will now work in a round again, so remember about moving your stitch marker up after the end of each round.
12) Sc in each st around. (30 sc)
13)-14) Repeat round 12. (30 sc)
Pattern notes:
Make a row of sc on the top loops left after row 8. This is necessary so the phone doesn’t slide off. Start the row on the right, facing the outside. Clip of the yarn and sew both sides of the row of single crochets to the side, leaning towards the middle of the holder. Weave in the ends inside the holder.
(Optional) As mentioned in the note before, make a row of sc on top of 2 loops left after row 11 in the same way as described above.
15) Sc2tog, sc in next 7 sts, sc2tog, sc in next 4 sts, sc2tog, sc in next 7 sts, sc2tog, sc in last 4 sts. (26 sc)
16) Sc in each st around. (26 sc)
Crochet Book or Tablet Holder Pattern Booklet
17) Sc2tog, sc in next 5 sts, sc2tog, sc in next 4 sts, sc2tog, sc in next 5 sts, sc2tog, sc in last 4 sts. (22 sc)
18) Sc2tog, sc in next 3 sts, sc2tog, sc in next 2 sts,sc2tog, sc2tog, sc in next 3 sts, sc2tog, sc2tog, sc in last 2 sts. (16 sc)
Pattern notes:
At this point stuff the holder with hollowfibre filling firmly and evenly. Fill it in sections, first the front section, then the rest of the bottom and lastly the top but avoid the lumps. Be careful to not over fill the holder as the stuffing will start to stretch your crochet fabric and holes between the stitches will become visible. Also the holder will be misshaped.
Keep filling the inside of the body until it’s quite firm. Press it all over, looking for hollow bits and fill them up. I’ve used about 20 gram of filling.
19) Sc2tog, sc in next st, sc2tog, sc2tog, sc in next st, sc2tog, sc in next st, sc2tog, sc2tog, sc in next st. (10 sc)
20) Sc2tog, sc in next st, sc2tog, sc2tog, sc in ext st, sc2tog. (6 sc)
Pattern notes:
Add more filling and do the final check if the shape of the holder is right and there isn’t any hollow bits. Fasten off leaving a longer tail. Thread the yarn tail on to the blunt ended yarn needle and close the hole by gathering 6 stitches of the last round together. Then, darn in the ends invisibly inside the stitches to secure it.
THE END
If you would like to say thank you for the pattern please SHARE this post on your Facebook or Pin it to your Pinterest board using buttons below the post. Thank you

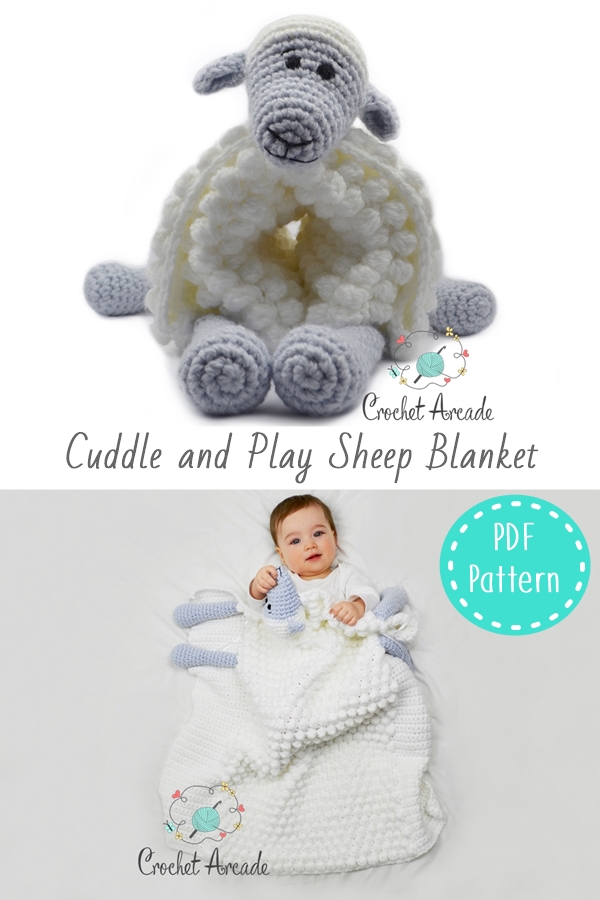
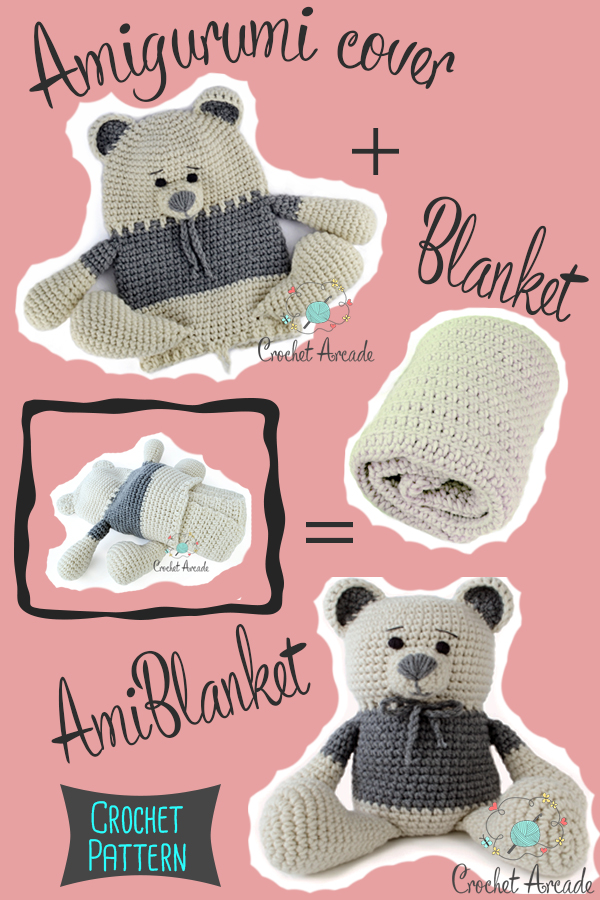
Check out my Innovative Cuddle and Play Sheep Crochet Blanket. The Blanket that turns into Amigurumi.
ATTENTION: All content of this pattern, including but not limited to photographs, logos and text is owned by Aneta Wawro (Zdrojewska) – Crochet Arcade. A copy of this pattern or it’s content may not be sold, reproduced, distributed, transmitted, displayed, published or broadcast without the prior written permission of Crochet Arcade. This pattern can be printed for personal use only. Items made from this pattern may be sold on the small scale but please give credit to Crochet Arcade by linking to my blog www.crochetarcade.co.uk if you’re selling the item online.
Affiliate Disclosure: I am grateful to be of service and bring you content free of charge. In order to do this, please note that when you click some links on this post and purchase items, in most (not all) cases I will receive a referral commission. Your support in purchasing through these links enables me to keep designing free crochet patterns and tutorials for you to use. Thank you! ?
