I’m very excited to share with you my newest method of preventing the gaps in Amigurumi when crocheting over single crochet decreases. I’m especially proud of this tutorial because this Amigurumi Hack is actually something that I came up with myself! I haven’t seen this tip anywhere else on the internet but obviously the world is big so I don’t claim I’m the only one that came up with this solution.
Over the years I’ve seen many people struggling with the problem of large gaps/holes in Amigurumi and the stuffing showing through them but the only advise so far that I’ve seen was:
- use smaller size hook
- work with tighter tension
- don’t stuff it as much
- put stuffing in the stocking
- use invisible decrease method.
First two solutions are good for preventing small gaps that you get everywhere between all the stitches, but will not solve the problem of very large gaps when making stitches on top of single crochet decreases from the previous round.
Stuffing the amigurumi too much will indeed make all the holes even bigger so please try avoiding this. Putting toy filling in the stocking… well it’s only masking the problem and not a real solution.
Invisible decrease method is great. I’m using it myself all the time since I learned about it. The only problem I find with this method it doesn’t really work well when you try to make 2 or more sc decreases next to each other.
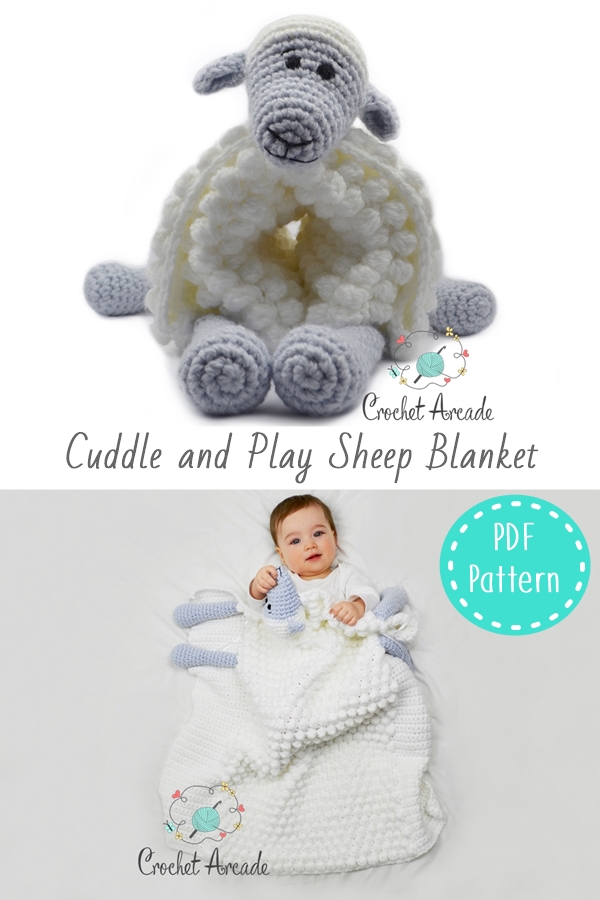
The idea of this method came about when I was designing my Cover and Play Teddy Bear Blanket Pattern.
![]()
I wanted to achieve a large indent so the bottom limbs look like an actual feet. To be able to achieve that I had to decrease a lot of time in one place. I was making 3 sc decreases in a row and then another 3 decreases on the top!
The gaps this has created were GIGANTIC!

I couldn’t leave it like this. I knew I had to improve this and I didn’t want to resign from this great shape that I achieved so I thought hard and there it was. Actually a really simple solution!
Watch VIDEO TUTORIAL below or scroll down for more written explanation and PHOTO TUTORIAL.
Soooo the method to resolve the problem of BIG GAPS IN AMIGURUMI is to go deep inside the single crochet decreases rather then just under the 2 top loops of the stitch, just like in ‘Center Single Crochet/Waistcoat stitch.
Taa Daaaa!
I’m NOT talking here to use the Center Single Crochet method on ALL stitches as this would change the look of your crochet completely. I’m just saying make a waistcoat stitches when working over the single crochet decreases from the previous round only.
This is the same pattern as above but using my new method. Now that’s better!
Check out the exact step by step photo tutorial below.
So in the example on the picture below, my pattern calls for decreasing (sc2tog) over the next 2 stitches. First one is a standard sc and the second one is a decrease from the round below.

If I was to decrease here in a traditional way, this would be the result:

The super large gap on the left is due to crocheting under the 2 top loops of the sc decrease that are stretched and larger then other tops of the stitches.
On the photo below 2 pink arrows indicate where would you insert your crochet hook in the traditional decreasing method. The green arrows point out where you should enter your hook according to my new Amigurumi Gaps Preventing Method.

Make all stitches that are over standard single crochet stitches in the traditional way, to the point that there is a sc decrease blow. If the pattern call for standard sc in this place, you should make a waistcoat sc stitch there by going inside the decreased sc stitch instead of under the two top loops.
To decrease over the 2 stitches that include sc decrease follow the steps below.
Step 1: Insert the hook in the middle of the ‘V’ that is at the front of sc stitch as pointed by the green arrow on the right on the above photo. Make sure you went deep enough inside the stitch and there is 3 and NOT only 2 loops on your hook as shown on the photo below.

Step 2. Yarn over and pull through the stitch.

Step 3. Insert the hook in the middle of the decrease from the previous round. You should now have two additional loops on your hook (4 loops on your hook in total). One that’s underneath the front loop and one that’s underneath the back loop as shown on the photo is Step 1.

Step 4. Yarn over and pull through the middle of the stitch.
Step 5. Yarn over and pull through the 3 loops on your hook to complete the single crochet decrease.

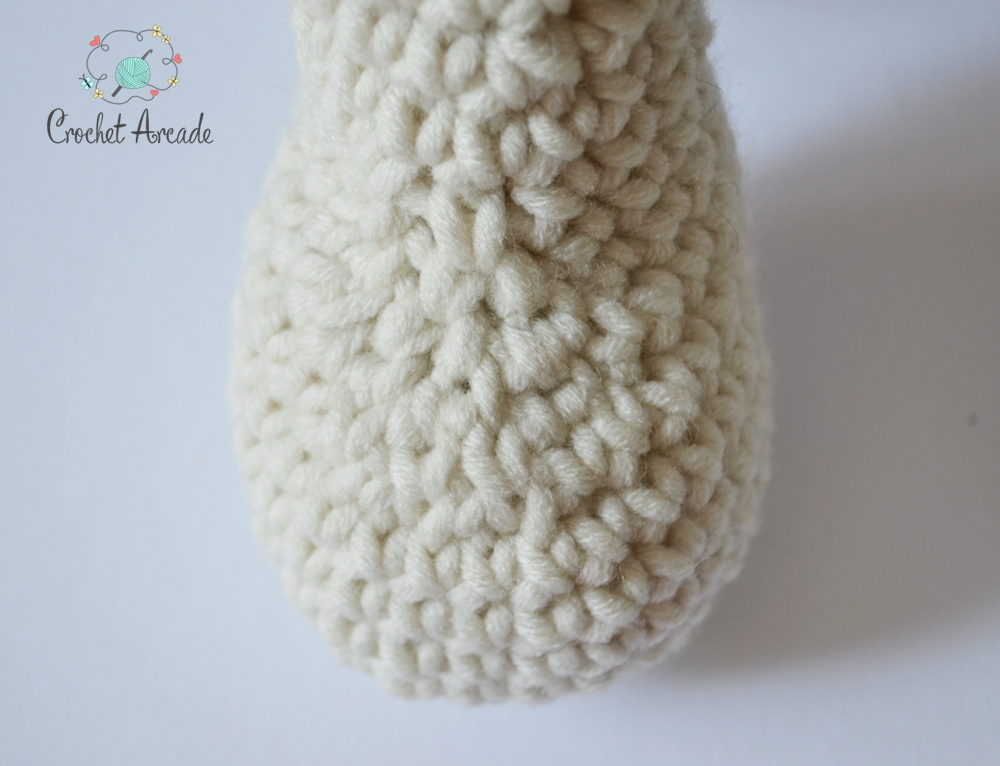
Here is how the gaps decreased to the minimum size they can be:

If you enjoyed this tutorial and would like to say thank you, please SHARE this post on your Facebook using buttons below the post or Pin it using the photo below or the one above to your Pinterest board (just hoover over the photo for ‘pin it’ button to show. Also check out the patterns in my store. Thank you <3